Keeping a PC powered on with an Arduino Some background... I needed an option to…
Electronics
Resetting ATTiny85 Fuses
The Story Behind
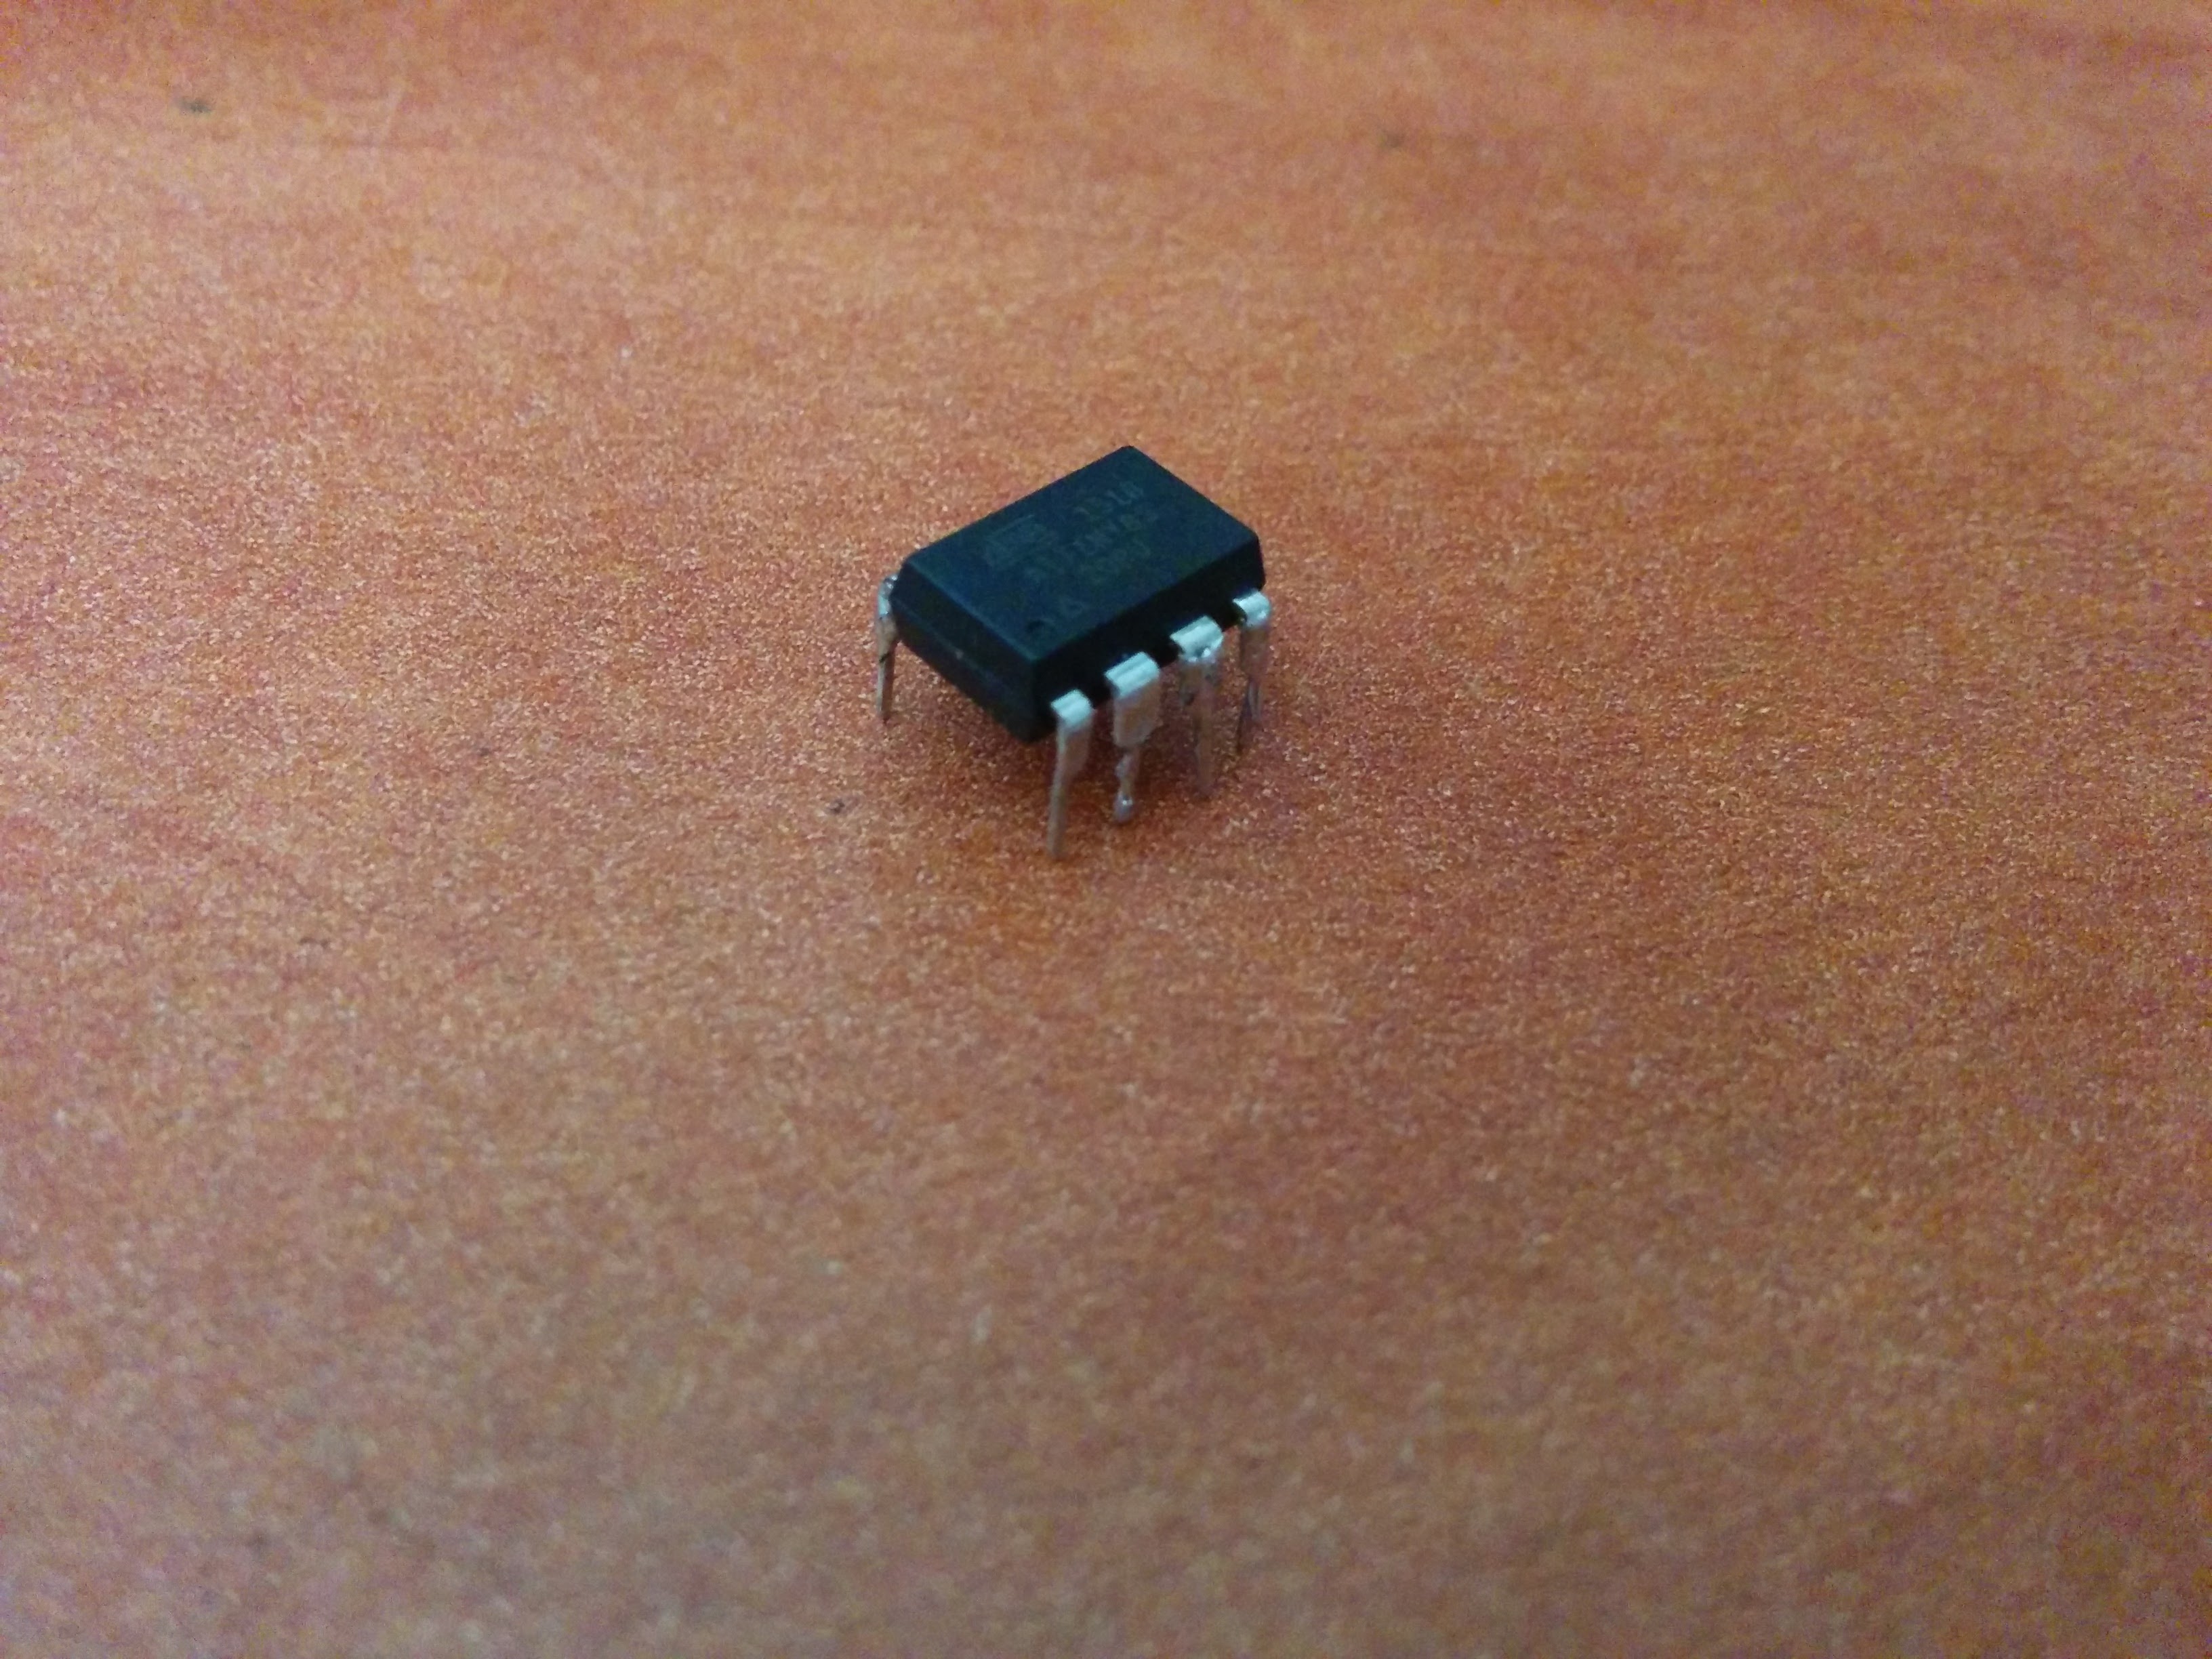
ATTiny85’s are sweet
Almost everyone who mess with the ATTiny85 end at least one time with a dead one caused by bad fuses. I’m in that group 🙂
So, I was looking for a solution.
The solutions are:
- Use 12V programmer or use another AVR with 12V to flash the fuses back.
- Add an external clock or crysal
- Use JTAG
I decided to go on with the first solution and ordered the parts from Taydaelectronics.com
I found few posts about how to build it:
https://sites.google.com/site/wayneholder/attiny-fuse-reset
http://www.gammon.com.au/forum/?id=12898
http://www.simpleavr.com/avr/hvsp-fuse-resetter
I received the parts (I wanted the last one) and started to build.
But…
I was too lazy.
I searched for more ways and found this one: Link
But It didn’t work for me, even the Anonymous guy method down in the comments who gave some codes of ISP to try.
I googled again and found my hero!
http://www.larsen-b.com/Article/260.html
How to use an external clock?
I needed some more search to find out how to use the External Clock of another AVR but in the end I found it.
I’ve used a fresh ATTiny85 for this.
The steps to make it work:
- Flash your Arduino Uno as ISP with the regular example from the menu.
- Connect the new ATTiny85 to the ISP as shown here (courtesy of http://highlowtech.org):
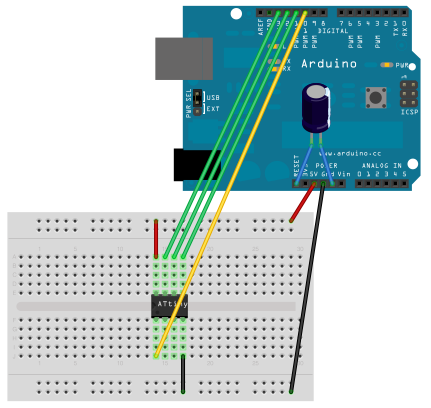
- And flash this code via the Arduino IDE:
int main() { DDRB = 0xFF; while (1) { PORTB = ~PINB; asm volatile("nop"); asm volatile("nop"); } return 0; } - Download WinAVR or use the Avrdude.exe from the Arduino IDE folder and burn those fuses to the new ATTiny85:
-U lfuse:w:0xa2:m -U hfuse:w:0xdf:m-U efuse:w:0xff:m
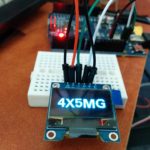
(Usually goes like this: avrdude -p attiny85 -c stk500v1 -P YOURCOMPORT -b 19200 -U lfuse:w:0xa2:m -U hfuse:w:0xdf:m -U efuse:w:0xff:m) - Connect dead ATTiny85 to the ISP and put the new one next to it.
- Connect 5V and GND to the new one and add another wire from pin 5 to pin 2 on the broken one.
- Open the Arduino IDE and choose ATTiny85 on boards menu, click on “Burn Bootloader” and your’e DONE!
Related Posts
Support the blog
You can help me keep the blog alive by registering to one of the services below with my referral link:

![]()
Get 100$ to test Vultr:
Click Here
Regular referral link:
Click Here
My blog contains affiliate links, which means that if you click on one of the product links, I’ll receive a small commission at no extra cost to you!
Popular Posts
-
 DIY Shortened Vertical Antenna
-
 Controlling Somfy blinds with ESP8266
-
 AllStar to DMR bridge
-
 Repeaters Frequency Calculator
-
 Accessing LAN over ZeroTier easily
-
 Using The QYT KT8900 for an Allstar node
-
 Building APRS Digipeater with Raspberry Pi
-
 DIY Magnetic Loop – Part 1 – The Capacitor
-
 AllStar Node using the Baofeng 888
-
 Callsigns instead of node numbers on Allstar